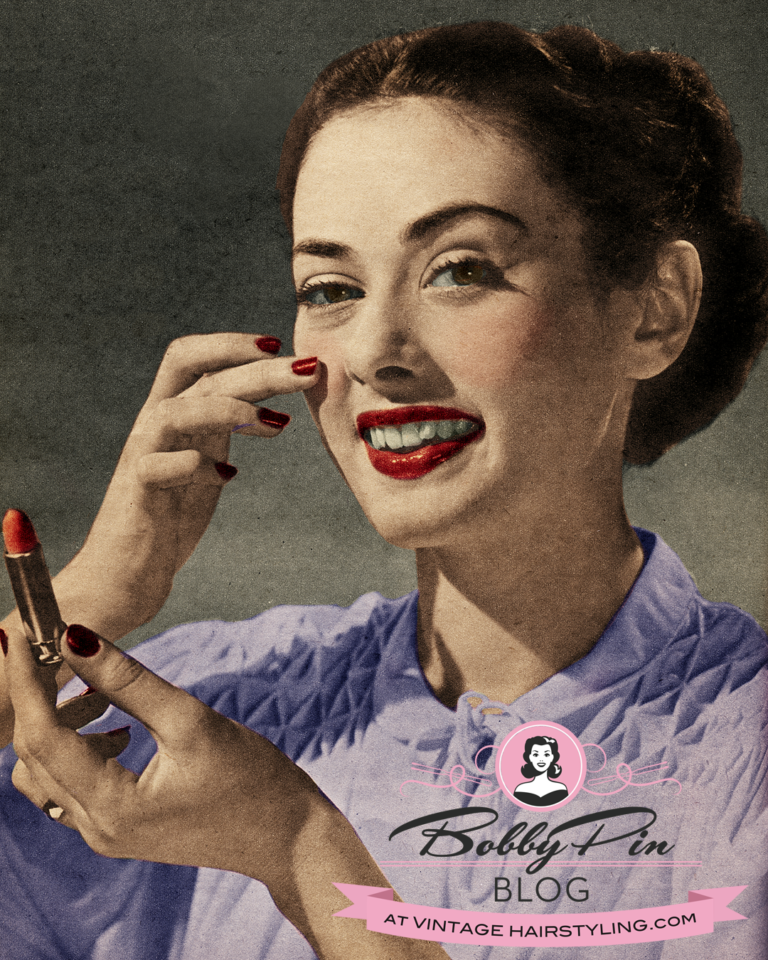
Blush Make-up Techniques from the 1950s.
When you read this article, keep in mind, the writer refers to rouge, but she doesn’t specify unfortunately what colors should be used, so you have to do a little guessing game. Blushers at this time could be anywhere from pink to lavender to red. One good way to choose your rouge for an authentic vintage 1940s or 1950s makeup is to actually use your lipstick as your blush as well…lightly. It was good for your rouge and lipstick to match at the time.
If you want to go for an authentic look, but not look overly made up, here are my suggestions. If you’d like to contour your face using rouge/blush the retro way as opposed to contemporary contouring, a dull lavender or pink or peach, depending on your skin tone, is appropriate.Use brighter colors on the areas you want to accentuate like the apples of your cheeks. Women did also purchase a darker face powder and used it much like we use contouring today. Mary Brown wrote about it here.
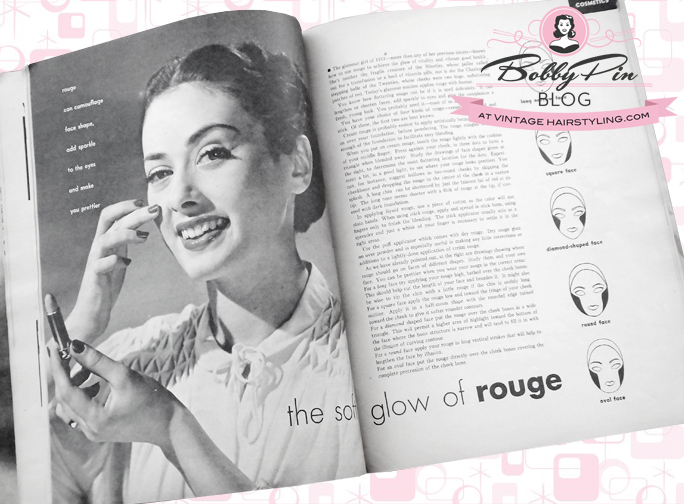
It also seems that there may be a little misunderstanding between the writer and whomever drew the pictures for the article, which I’m sure came after the writing. The pictures are not entirely accurate to where the placement of the rouge should be, so be sure to pay careful attention more to what the author says as opposed to the shading in the drawings. I feel like that happens a lot in old beauty articles…the drawings seem a little off from the description. The artists were often male illustrators, not professional makeup artists and these drawings look more like contouring images, but the article is about highlighting with color.
Full Article
The Soft Glow of Rouge
Rouge can camouflage face shape, add sparkle to the eyes and make you prettier.
The glamour girl of 1952-more than any of her previous sisters-knows how to use rouge to achieve the glow of vitality and vibrant good health. She’s neither the fragile creature of the Nineties, whose pallor called out for a transfusion or a load of vitamin pills, not is she the Charleston-stepping belle of the Twenties, whose cheeks were two huge, unflattering patches of red. Today’s glamour maiden applies rouge with finesse.
You know how flattering rouge can be if it is used delicately. It can lengthen or shorten faces, add sparkle to eyes and give the complexion a fresh, young look. You probably need it-most of us do.
You have your choice of four kinds of rouge-cream, dry, liquid and stick. Of these, the first two are the best known.
Cream rouge is probably easiest to apply artistically because it is touched on over your foundation, before powdering. The rouge mingles with just enough of the foundation to facilitate easy blending.
When you put on cream rouge, touch the rouge lightly with the cushion of your middle finger. Press against your cheek, in three dots to form a triangle when blended away. Study the drawings of face shapes given at the right, to determine the most flattering location for the dots. Experiment a bit, in a good light, to see where your rouge looks prettiest. You can of instance, suggest hollows in too round cheeks by skipping the cheekbone and dropping the rouge to the center of the cheek in a narrow splash. A long chin can be shortened by just the faintest bit of red at its tip. The long nose seems shorter with a flick of rouge at the tip, if covered with dark foundation.
In applying liquid rouge, use a piece of cotton so the color will not stain hands. When using stick rouge, apply and spread in stick form, using fingers only to finish the blending. The stick applicator usually acts as a spreader and just a whisk of your finger is necessary to settle it in the right areas.
Use the puff applicator which comes with dry rouge. Dry rouge goes on over powder and is especially useful in making any little corrections or additions to a lightly-done application of cream rouge.
As we have already pointed out, at the right are drawings showing where rouge should go on faces of different shapes. Study them and your own face. You can be prettier when you wear your rouge in the correct areas: For a long face try applying your rouge high, bathed over the cheek bones. This should help cut the length of your face and broaden it. It might also be wise to tip the chin with a little rouge if the chin is unduly long.
For a square face apply the rouge low and toward the fringe of your cheek outline. Apply it in a half-moon shape with the rounded edge turned toward the cheek to give it softer rounder contours.
For a diamond shaped face put the rouge over the cheek bones in a wide triangle. This will permit a higher area of highlight toward the bottom of the face where the bone structure is narrow and will tend to fill it in with the illusion of curving contour.
For a round face apply your rouge in long vertical strokes that will help to lengthen the face by illusion.
For an oval face put the rouge directly over the cheek bones covering the complete protrusion of the cheek bone.
Read more from the 1950s vintage beauty guide 1,000 Hints Beauty Magazine:
Related posts

Welcome to the Bobby Pin Blog! I am Lauren Rennells and as a hairstylist, makeup artist, writer, and generally artistic over-achiever, the Bobby Pin Blog is my outlet for thoughts and research about vintage hair and makeup trends and how to recreate them today. Thank you for stopping by!

As an Etsy and Amazon associate I earn from qualifying purchases. As an independent blogger, I link these items because of my own opinions and not because of the commission I may receive.



1 Comment
Haylee
These tips are super helpful to at least understand the concepts of 1950’s makeup. Now just to try them! 🙂 Thanks for posting!