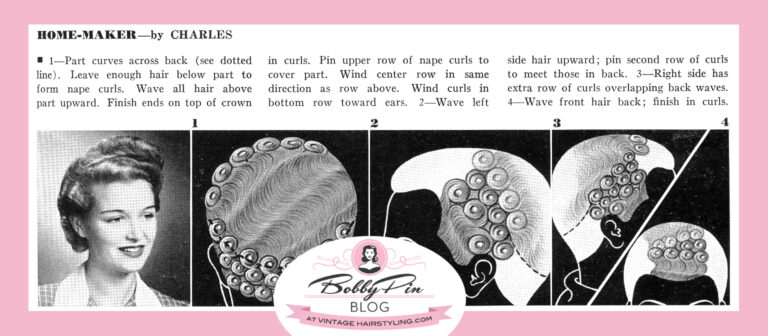
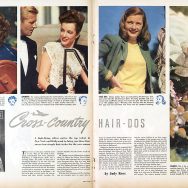
Girls using today’s modern tools and techniques to create their vintage hairstyles may get a different look from the old glamorous images of women in the early 20th Century. It is a subtle thing, but on comparison to an image of a girl in 1942 you can see that there is something different. The biggest difference can often be narrowed down to one element…the pin curl.
- When did women pin curl their hair?
- What is a pin curl?
- How to form a Pin Curl
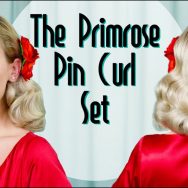
- Watch my Pin Curl Video about the Primrose Set
When were pin curls in style?
The mid 1930s through the 1950s was a distinctive time in hairstyling in which most women utilized pin curls for their main hair curling technique. Its beginnings are rooted in the water-waving techniques popular during the 1920s. Water-waving, more commonly referred to today as finger waving, created beautiful close fitting waves around the head by forming wet hair in to waves and allowing the hair to dry in that shape.
By the middle of the 1930s, fuller hairstyles became en vogue and pin curls were just the ticket for creating a combination of the waves women still loved, but with a softer, fuller silhouette. The pin curl remained a staple well into the 1950s. Although the popular hairstyles changed, the basic pin curl helped create most of the curls necessary.
What is a Pin Curl?
A pin curl is a simple idea. Curl a damp piece of hair beginning at the end and working up toward the scalp. When the entire strand is encompassed in the curl, use a hairpin or clip to pin it to the base of the hair at the scalp for drying.
Once the pin curl has dried thoroughly, unpin it and brush it into the desired shape. Where the pin curl becomes more complicated and offers the diversity of hairstyles that spanned so many years is in the direction, size, and manner in which it is rolled.
I cover these diverse options for pin curl a lot in my book Vintage Hairstyling: Retro Styles with Step-by-Step Techniques.
How to form a Pin Curl
Here are the basics for creating the pin curl. Even in its simplest form, it creates a gorgeous retro look that lasts.
Disclosure: Some of the links in this post may earn me a commission. I link these items because of their quality and not because of the commission I may receive. I am an independent blogger and I write based on my own opinions.
To start you need to prep your hair with the right pin curl hair tools. Your hair should be wet for the best results. Water acts as one of your styling products. I am a huge fan of continuous spray bottles while I am pin curling. The continuous fine mist allows me to evenly coat the hair strands.
Knowing what amount of dampness you need to work with your hair will come with practice. The amount of water depends on the hair type. Finer hair may require more water for hold and thicker hair should be more towel dry damp to avoid excessive drying time.
If you want to no more about how water acts as a styling product, you might also like: Techniques for wet set curling
You will also need a shaping or styling lotion. My favorites include Nairobi 3 in 1 Texturizing Styling Lotion, Paul Mitchell Hair Sculpting Lotion (also great for sculpted finger waves) and the tried-and-true Lottabody Setting Lotion.
The best lotions will create a stickiness to your hair and make the strands more pliable, easier to bend. That makes it easier to control the ends of the hair and roll the hair into the curl.
All of these products, the water, the shaping lotion, whatever you are using, should be distributed evenly through the hair. If a section of hair is too dry or too wet or has less product on it, the results will be uneven. The more even the product distribution, the prettier the finished hairstyle.
Step 1
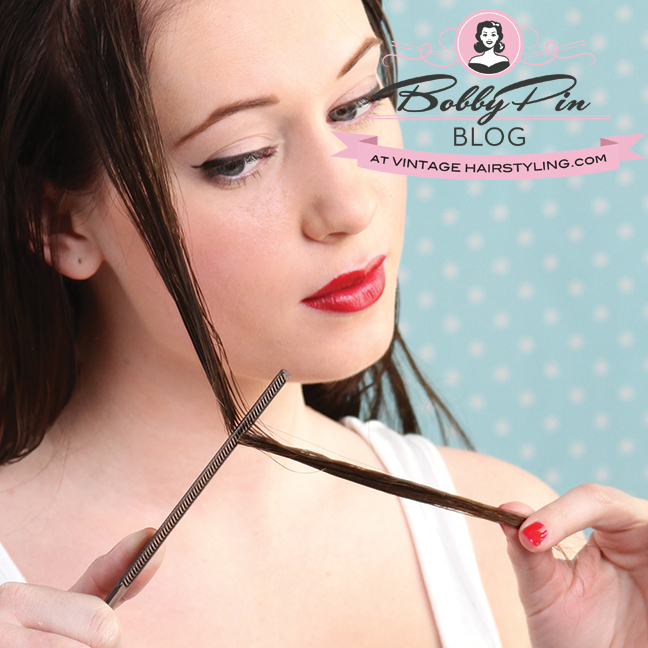
After you have prepped your hair with the proper products, separate out a 1 by 1 inch section of hair and comb it so the hair is smooth.
Step 2
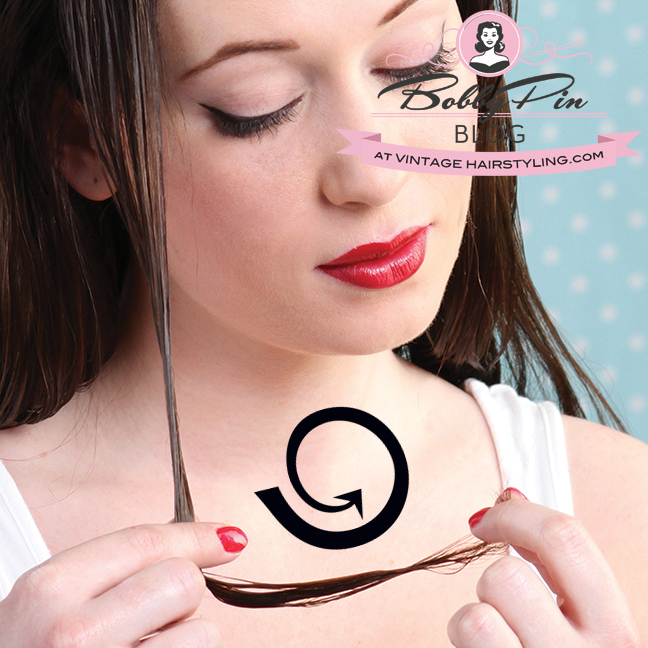
Begin the curl at the end of the hair section by wrapping the end toward the shaft to start the curl with your fingers.
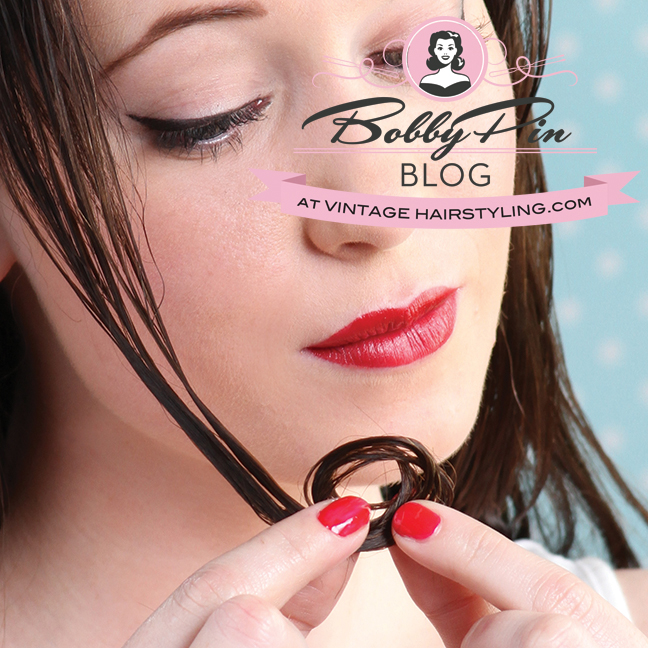
You might also like: Vintage wet set with the Primrose pin curl set!
Step 3
Once you have curled the section all the way up to the scalp, clip or pin the curl against your head.
I do recommend using single prong clips for pin curls on fine or short hair. I do recommend using double prong clips on medium length or texture hair. I do recommend using slide-in double prong clips on very long and thick hair.
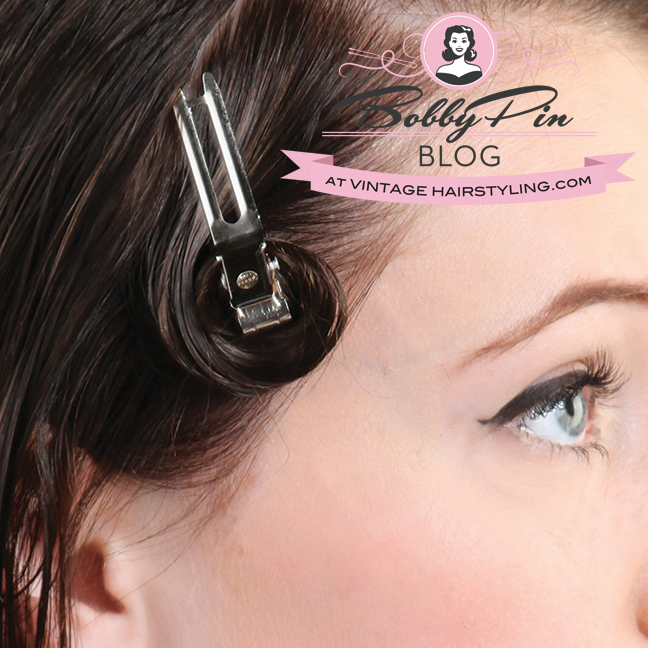
I do not recommend using (depending on your lingo) bobby, grip, or kirby pins to pin the curls. These pins will crease the final curl heavily and make it frizzy looking, not smooth like we are going for.
Step 5
Dry your hair. You can allow it to air dry if you have time. But I highly recommend a hooded hairdryer system of some kind. This will also get some heat on your hair which will help hold the curl longer.
Here’s my thoughts on home use hood dryers. The most inexpensive option is a soft bonnet attachment for your existing hairdryer. But buyer be aware… Get the bonnet that has the chin strap like this one. Just listen to me on this one. The few extra dollars are worth it.
Or the table top hood dryers work great too. Just make sure you get one that has wrap around air flow on the inside like this one. I saw a pink one online that I almost bought, but when I looked at all the photos I saw that the airflow really only came from the top which sounds about as effective as sitting under a ceiling fan.
Step 6
After completely dried and cooled, the curls can be brushed with ease. The brush out is a whole other part of the journey to beautiful vintage curls and waves. You can see the brush out I do on the Primrose hairstyle in the video below. Cheers!
The Primrose Pin Curl Set
Related posts

Welcome to the Bobby Pin Blog! I am Lauren Rennells and as a hairstylist, makeup artist, writer, and generally artistic over-achiever, the Bobby Pin Blog is my outlet for thoughts and research about vintage hair and makeup trends and how to recreate them today. Thank you for stopping by!

As an Etsy and Amazon associate I earn from qualifying purchases. As an independent blogger, I link these items because of my own opinions and not because of the commission I may receive.


1 Comment
Nicole
Oh my God, I learned this in my hairdressing classes in 1981! 🙂